How to exchange the engine mount brackets
When Hassy's Sera became 10 years old, the engine sound at the time of low speed driving and the unpleasant vibration at the time of idling increased. Therefor I decided to exchange the engine mount insulators.
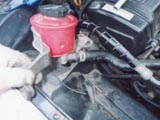
Since the bolts are tighten with intense torque, the powerless one is impossible to do it. When uniting the position of engine, remarkable physical strength is needed.
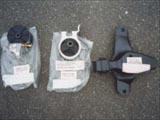 |
First, look at this photograph. These 3 parts support Sera's engine and transmission. The left is to the sprocket side of engine, in front of a brake booster. The center is a transmission side, directly under a battery. The right is in the central lower part, a center tunnel portion. If you are difficult to exchange all parts, I just suggest that you should exchange the part of the central lower place. |
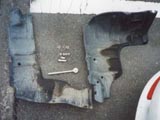 |
When you begin work, you have to wear working gloves. Moreover, you should work, cooling engine completely. A handbrake is pulled firmly, Keep the position P range of AT or the position 1 of MT. When the under-cover is removed, A 10mm deep socket is required. The under-cover is the important parts which protect an electric system, a pulley, and a belt from water. It is easy because 8 places are only loosened. The person who stumbled here needs to give up. |
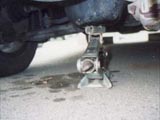 |
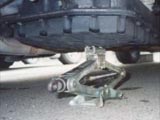
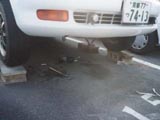
Since the part supporting engine is removed, it is necessary to support engine by something. I used the common pantograph jack without using a special tool this time. You put a jack under the bottom of oil-pan, and make oil-pan contact. You need not to raise a jack. You should set the tip part of a jack to an oil-pan with keep angle. |
 |
.......... |
 |
.......... |
 |
.......... |
 |
.......... |
 |
.......... |
 |
.......... |
| |
 |
 |


